At-Home Keratin Treatment | Preity Prerna

You are currently viewing At-Home Keratin Treatment | Preity Prerna

People spend a ton of money at the salon for keratin treatment. Keratin treatment provides chemical-based protein to the hair cuticles. This treatment straightens the hair and provides shine.

You can get keratin treatment-like results for your hair AT HOME without being harsh on your pockets! But you should know that the results may vary as at salons, they use a straightening iron.

Straightening iron makes the hair straight (without the slightest bit of waves).

We are doing an at-home treatment that might give your hair a wavy look. But, if you follow this procedure thoughtfully and let your hair dry nicely, you can get straighter and shinier hair, which can be completed with a salon treatment!

So let’s get into the procedure and steps you need to follow for your at-home keratin treatment.

Table of Contents:

Ingredients:

1]. Flaxseed gel: Flaxseeds are odourless and non-acidic, and these seeds work on the improvement of hair texture. These seeds also cleanse the scalp deeply and remove any deposition present on the scalp.

 
 2]. Curd
 
 
3]. Two egg yolks Or a banana
 
 
4]. Rose water (optional)
 
 
If you are allergic to any ingredient, you can skip it! All these ingredients give tremendous results even if used individually.
 
 If unsure whether this remedy suits you, I suggest a patch test. If your hair passes the patch test, go ahead with the process full-fledged.


Preparation:

STEP 1: Flaxseeds Gel Preparation

 
 Take a pan and add two full cups of water. Now add two tablespoons of flaxseeds to the water. Let it boil properly. Flaxseeds have the magical property of converting water into gel form.
 
 After boiling, check the consistency of the final result. It should be stringy and have a gel-like feel (be careful, do not burn your fingers).
 
 If you do not get the desired results, boil it for a few minutes more and check again. Once done, strain it in a container.
 
 Strain the gel while it is hot, as it might be difficult if it cools down. Your flaxseed gel is ready for application! You can store it in a bottle and refrigerate it for up to 10 days.
 
 Let the gel cool down. You can use this gel as it is for your hair, but we will mix some other magical ingredients for this treatment.
 
 
 STEP 2: Adding The Magic
 
 Next, take flaxseed gel in a bowl (judge the quantity according to your hair length). Add one tablespoon of cued to the gel. Curd is a natural conditioner and cleanser.
 
 Curd can alone work as a clarifying shampoo. The lactic acid in curd cleans the scalp and the length of the hair. The next ingredient that goes in this mask is egg yolk.
 
 Add two egg yolks to the mix. If you are not comfortable with eggs or if you are vegetarian, then you can add half a banana.
 
 These three ingredients (flaxseed gel, curd, and egg yolks/banana) are the main ingredients that constitute the hair mask.
 
 But, if you get hard water in your locality, add three to four tablespoons of rose water.
 

Rose water is distilled water.

 
 If there is any hardness in your flaxseed gel (due to the hard water supply), rose water will nullify it.
 
 Also, if you are uncomfortable with the smell of eggs, add rose water to the hair mask.


 STEP 3: Whisk It
 
 After adding all the ingredients to a bowl, start whisking the ingredients together. A spoon or a spatula would not be enough, so use a whisker.
 
 
The consistency of this hair mask will be liquid, and that is the state in which you will apply it.
 
 If you are not comfortable with making the mask right before application, you can make this mask the night before you plan on applying it.
 
 You can refrigerate it overnight and apply it in the morning.

Application:

Firstly, detangle your hair! Take a comb and nicely comb your hair.

 
 Start the application by massaging the mask on your scalp. This mask is the food for your roots! It will provide all the nutrients your scalp needs.
 
 Thoroughly massaging it will also improve the blood circulation on your scalp. After thoroughly massaging the hair mask on your scalp, apply it to the length of your hair.
 
 Do not leave any strands!
 
 Do not haste with this process; cover every strand of your hair.
 
 After application, tie your hair up and cover it with a shower cap. Leave this hair mask on for 25 – 45 mins.
 
 For rinsing your hair, you can use your regular shampoo. The results might vary slightly in terms of using a herbal or a chemical-based shampoo. In the case of a chemical-based shampoo, you might get to see straighter hair compared to herbal shampoo.
 
 But put the comfort of your hair first; if you use an herbal shampoo or a chemical-based one, use it only!


DRY YOUR HAIR

You must be wondering why this is even a step! This part is crucial because if you leave your hair in a towel or fold your hair while they are still wet, you will get a wavy look.
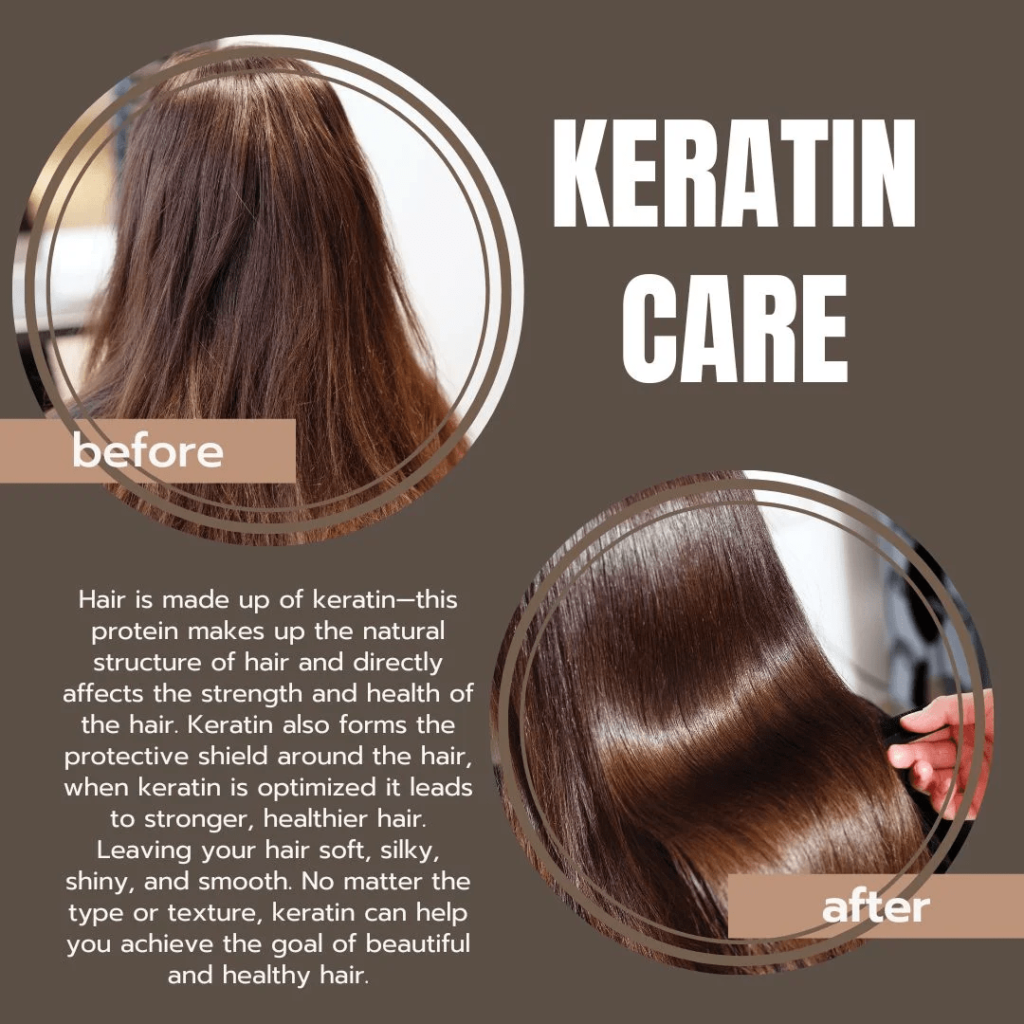
 
 So make sure you leave your hair straight and let it air dry so that it dries straight and remains straight!

Conclusion:

You can do this remedy once every 15 days. Remember to study your hair.

 
 Stop using the hair mask once you are satisfied and once your hair feels healthy, lustrous, bouncy, and HAPPY.


Also, if you’re not a part of our amazing family, you’re missing out. Join us today and start your natural skincare and haircare journey and get help from other community members. 😊

Leave a Reply