


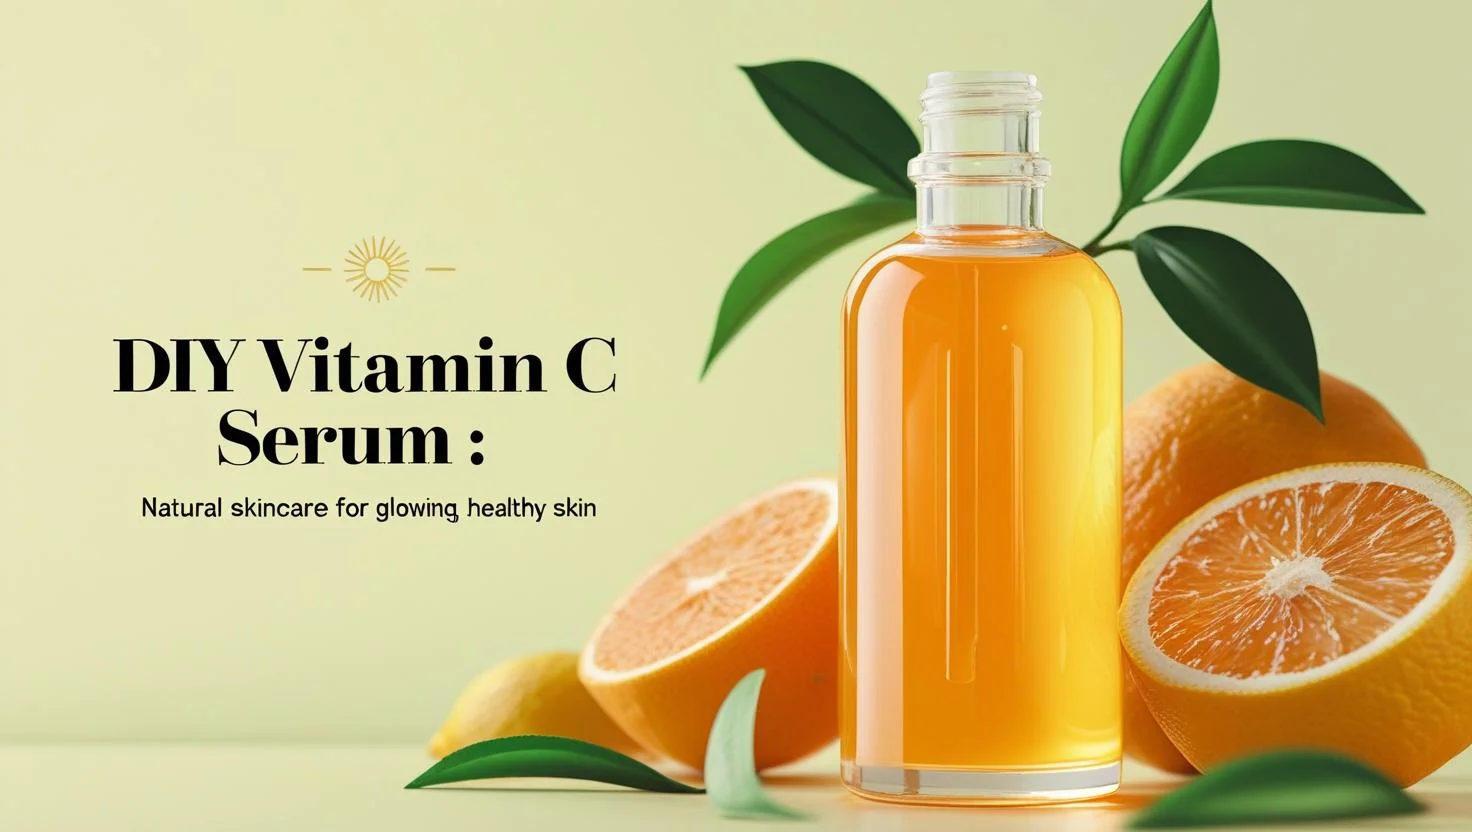
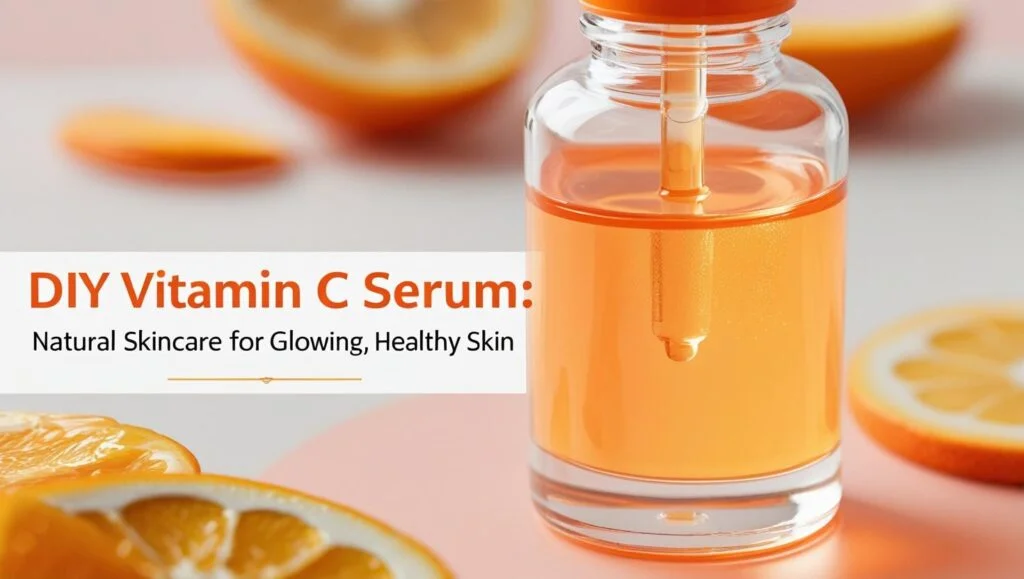
When it comes to radiant, youthful, and healthy-looking skin, Vitamin C is often hailed as a miracle ingredient. Known for its ability to brighten complexion, reduce dark spots, and fight free radicals, Vitamin C serums are a staple in many skincare routines. However, most store-bought serums can be expensive and sometimes contain preservatives. The good news? You can make your own DIY Vitamin C serum at home using simple, natural ingredients from your kitchen.
This homemade serum is cost-effective, chemical-free, and suitable for almost all skin types. Below, we’ll guide you through the benefits, ingredients, step-by-step preparation, and application of this skin-loving serum.
Why Choose a DIY Vitamin C Serum?
Before jumping into the recipe, let’s understand why DIY is a great choice:
- Affordable: Homemade serums cost a fraction of store-bought ones.
- Customizable: You control the ingredients, ensuring they suit your skin type.
- Chemical-Free: No preservatives, fragrances, or harsh additives.
- Fresh and Potent: You can prepare it in small batches to ensure maximum effectiveness.
Key Benefits of DIY Vitamin C Serum
- Brightens Skin: Vitamin C helps in reducing dullness and promotes a natural glow.
- Reduces Dark Spots: Orange peel powder, rich in Vitamin C, fades hyperpigmentation and acne scars.
- Hydrates Skin: Glycerin and aloe vera lock in moisture, keeping the skin plump and soft.
- Anti-Aging: Vitamin E and Vitamin C work together to combat oxidative stress and reduce fine lines.
- Soothes and Heals: Aloe vera or flaxseed gel helps calm irritation and repair damaged skin.
Ingredients You’ll Need
- 100ml Rose Water (natural toner and base)
- 1 tablespoon Orange Peel Powder (rich in Vitamin C)
- 1 to 1.5 tablespoons Glycerin (natural humectant)
- 1 to 2 tablespoons Aloe Vera Gel or Flaxseed Gel (hydration and soothing effect)
- 3 to 4 Vitamin E Capsules (antioxidant and preservative)
Step-by-Step Method to Prepare DIY Vitamin C Serum
Follow these simple steps to prepare your serum at home:
- Infuse Vitamin C:
- Add 1 tablespoon of orange peel powder to 100ml of rose water.
- Let it sit for 10–15 minutes to infuse.
- Strain the liquid into a separate bowl. Do not throw away the leftover powder—it can be used as a face mask later.
- Add Glycerin:
- Mix 1 to 1.5 tablespoons of glycerin into the infused rose water. Stir well.
- Prepare Aloe Vera-Vitamin E Mix:
- In another bowl, take 1 to 2 tablespoons of aloe vera gel or flaxseed gel.
- Cut open 3–4 Vitamin E capsules and squeeze the oil into the gel. Mix thoroughly until smooth.
- Combine Everything:
- Add the aloe vera-Vitamin E mixture to the rose water-glycerin mix.
- Blend all ingredients well until you get a smooth, serum-like texture.
- Store Properly:
- Transfer the serum into a dark glass bottle to protect it from sunlight.
- Store it in a cool, dry place or refrigerate to extend its shelf life.
How to Apply DIY Vitamin C Serum
To maximize the benefits of your homemade serum, follow this skincare routine:
- Cleanse: Wash your face with a gentle face wash.
- Tone: Apply rose water or toner; let it absorb.
- Apply Serum: Shake the bottle before applying. Take a few drops of the DIY Vitamin C serum. Dab gently into your skin until fully absorbed.
- Moisturize: Follow with a moisturizer (skip if you have oily skin).
- Sun Protection: Always apply sunscreen after 15 minutes, especially when using it during the day.
✨ Pro Tip: You can also apply this serum at night. It works overnight to repair skin and boost radiance.
Additional Tips for Best Results
- Use the serum once or twice daily for visible results.
- Store in a dark, airtight container to prevent oxidation.
- Make small batches and use within 2–3 weeks for freshness.
- Always do a patch test before first use if you have sensitive skin.
Why This DIY Vitamin C Serum Works
This serum blends the goodness of Vitamin C, Vitamin E, aloe vera, and glycerin, all powerhouse ingredients in skincare. Vitamin C boosts collagen production and brightens the skin, while Vitamin E protects against free radicals. Aloe vera soothes irritation and hydrates, and glycerin locks in moisture, making your skin look plump and healthy.
Together, these ingredients form a natural, effective serum that rivals many store-bought products, without side effects.
Watch the video on Preity Prerna’s YouTube Channel for STEP-BY-STEP preparation of the serum!
Final Thoughts
Creating your own DIY Vitamin C serum is an excellent way to care for your skin naturally, without spending a fortune. This easy-to-make serum hydrates, brightens, and protects your skin, helping you achieve a healthy glow. With consistent use, you’ll notice reduced dullness, lighter dark spots, and a smoother complexion.
Instead of reaching for expensive bottles on beauty store shelves, try this natural recipe; you may never go back!
Explore More
- 7 Amazing Benefits of Face Yoga: A Natural Path to Radiant Skin and Relaxation
- Best DIY Face Oil for Bright and Tight Skin | 100% Natural
- 100% Effective DIY Remedy for Pigmentation, Dark Spots, and Discoloration
- Ceramides in Skincare: Repair, Hydrate, and Protect Your Skin Naturally
- Monsoon Skincare Basics: 8 Natural Tips to Keep Your Skin Healthy and Glowing

Also, if you’re not a part of our amazing family, you’re missing out. Join us today and start your natural skincare and haircare journey, and get help from other community members.