Table of Contents
Hair fall, thinning, and lack of shine are common problems faced by both men and women today. While the market is flooded with hair care products, many of them contain chemicals that may do more harm than good in the long run. This is why natural remedies like onion oil have gained immense popularity — they are safe, affordable, and can be made at home with minimal effort.
Onion oil is packed with sulfur, antioxidants, and antibacterial properties that strengthen hair roots, promote hair growth, and keep the scalp healthy. In this article, we’ll cover everything you need to know about making onion oil at home, from ingredients and preparation steps to application tips and storage guidelines.
🌻 Why Onion Oil is Good for Hair
Before we jump into the recipe, it’s important to understand why onion oil is considered such a powerful hair remedy:
- Promotes Hair Growth – The sulfur in onions boosts collagen production, which is essential for new hair growth.
- Strengthens Hair Roots – Regular use strengthens hair follicles and reduces breakage.
- Improves Blood Circulation – Massaging onion oil into the scalp stimulates blood flow, bringing more nutrients to hair roots.
- Fights Scalp Infections – Onion oil’s antibacterial and antifungal properties help keep dandruff and scalp infections at bay.
- Delays Premature Greying – The antioxidants present in onions may help in slowing down greying.
- Adds Shine and Softness – Using the right base oil, along with onion infusio, nourishes and moisturizes the hair.
🧅 Ingredients Required
To make pure and potent onion oil, you only need a few ingredients:
- An iron skillet (Lohe ki Kadai) – Cooking in iron cookware helps increase the iron content in the oil, which can strengthen hair and make it darker.
- Base oil – 200 ml (Choose from sesame oil, mustard oil, or coconut oil depending on your hair type)
- Sesame oil – Deeply nourishing, suitable for dry scalps.
- Mustard oil – Stimulates hair growth and keeps the scalp warm in winter.
- Coconut oil – Lightweight, cooling, and perfect for summer.
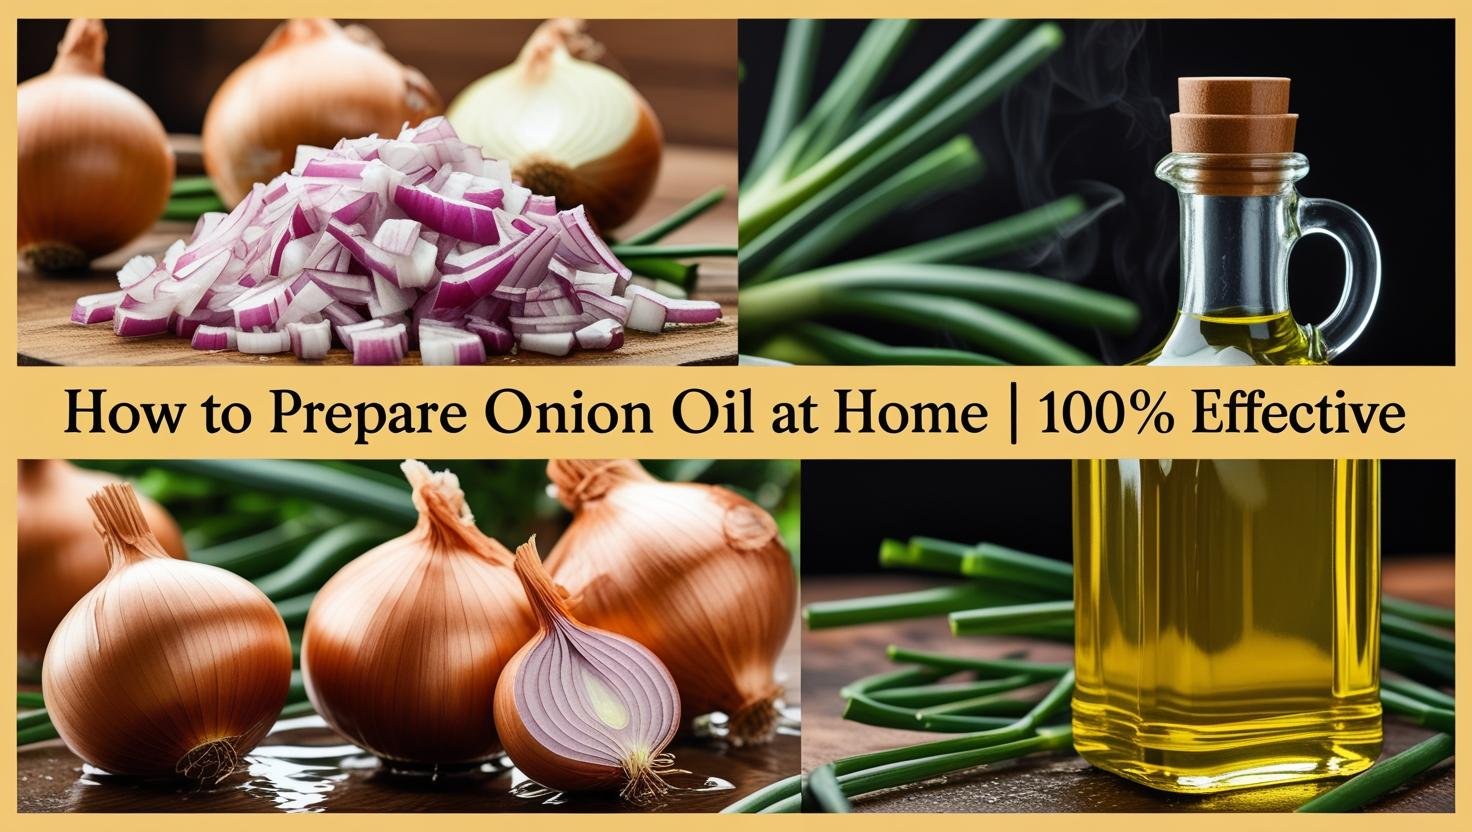
- Finely chopped onions or shallots – The main source of sulfur and nutrients.
- Nigella seeds (Kalonji) – 1 tablespoon – Known for reducing hair fall and adding shine.
✍ Step-by-Step Preparation Method
The key to making nutrient-rich onion oil is patience — everything should be done on a low flame to prevent burning and nutrient loss.
Step 1: Heat the Iron Skillet
Place your iron skillet (lohe ki kadai) on the stove and set the flame to low. This ensures slow and even heating, which is crucial for preserving the natural goodness of the ingredients.
Step 2: Add the Base Oil
Pour 200 ml of your chosen base oil into the skillet. Let it warm gently for about 5–7 minutes. Avoid high heat as it can damage the oil’s nutrients.
Step 3: Add the Chopped Onions
Once the oil is warm, add the finely chopped onions or shallots. Stir occasionally and allow them to simmer. This step may take some time because of the low flame, but it allows the sulfur from the onions to infuse into the oil properly.
Step 4: Add Nigella Seeds
When the onions turn a golden-brown color (not burnt), add 1 tablespoon of nigella seeds (kalonji). Stir them into the mixture and cook for another 7–10 minutes. The nigella seeds will release their beneficial oils during this time.
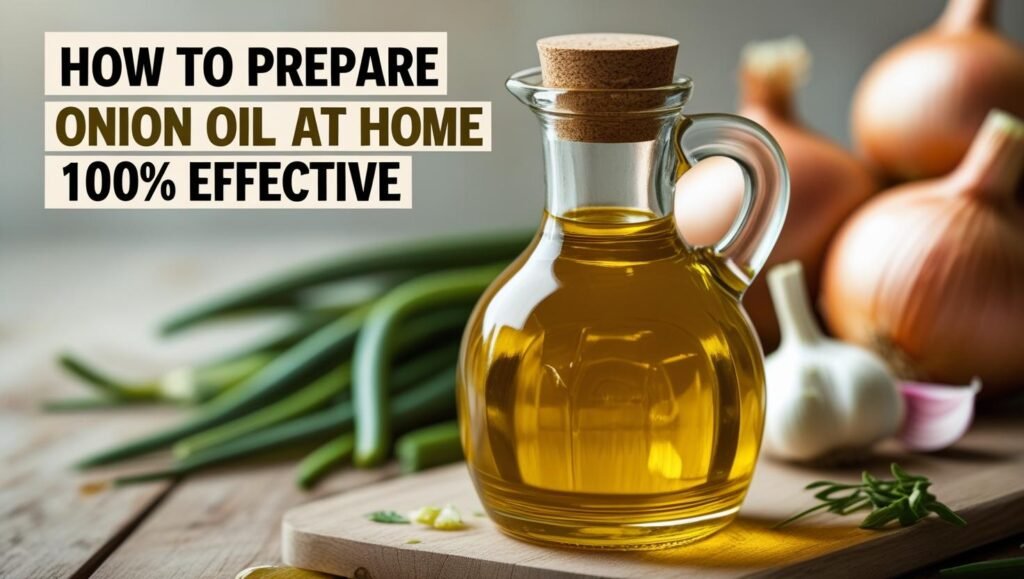
Step 5: Strain and Store
Turn off the flame and let the oil cool slightly. Strain the oil into a clean glass container using a fine sieve or muslin cloth. Avoid plastic containers as they can react with the oil over time.
💪 Optional Step: Sun Infusion for Extra Potency
If you want your onion oil to be even more effective with a longer shelf life, try sun infusion:
- After straining, pour the oil into a glass bottle.
- Keep it in direct sunlight for one week.
- This slow infusion process enhances the potency of the oil and allows it to store well for months.
💆♀️ How to Apply Onion Oil for Best Results
- Before washing hair: Apply the oil at least 2–3 hours before a head wash to allow maximum absorption.
- Overnight treatment: For deeper nourishment, leave the oil overnight. Cover your pillow with a towel to prevent stains.
- Frequency: Apply 2–3 times a week for best results.
❗ Precautions & Things to Keep in Mind
- Patch Test First: Some people may have allergic reactions to onion oil. Always do a patch test before applying it to your scalp.
- Not for Certain Hair Loss Conditions: This oil may not be effective for alopecia or hereditary baldness. If your hair fall is due to medical conditions, consult a dermatologist.
- Strong Smell: Onion oil has a pungent smell. So be prepared beforehand!
💭 Final Thoughts
Making onion oil at home is simple, affordable, and free from harmful chemicals. When prepared slowly on a low flame in an iron skillet, the oil becomes rich in nutrients that strengthen the hair, reduce breakage, and promote new growth.
With regular use, onion oil can become a valuable part of your hair care routine, helping you achieve healthier, shinier, and more resilient locks. However, remember that natural remedies require consistency and patience — visible results often take a few weeks to months.
If you’re struggling with persistent or severe hair fall, always seek professional medical advice to address the underlying causes.
🔍 Explore More
- Sesame oil
- DIY Mustard Hair Oil for Faster and Thicker Hair Growth | 100% Natural
- 5 Amazing Benefits of Indigo Powder for Hair: Uses & How to Apply for Best Results
- Monsoon Haircare 101: Best Tips to Control Frizz, Hair Fall & Dandruff Naturally
- Best 5 Cold-Pressed Oils: The Natural Boost Your Hair Truly Needs
- 5 Amazing Benefits of Rosemary Oil for Hair: Nature’s Answer to Thicker, Healthier Locks

If you’re not a part of our amazing family, you’re missing out. Join us today and start your natural skincare and haircare journey, and get help from other community members.