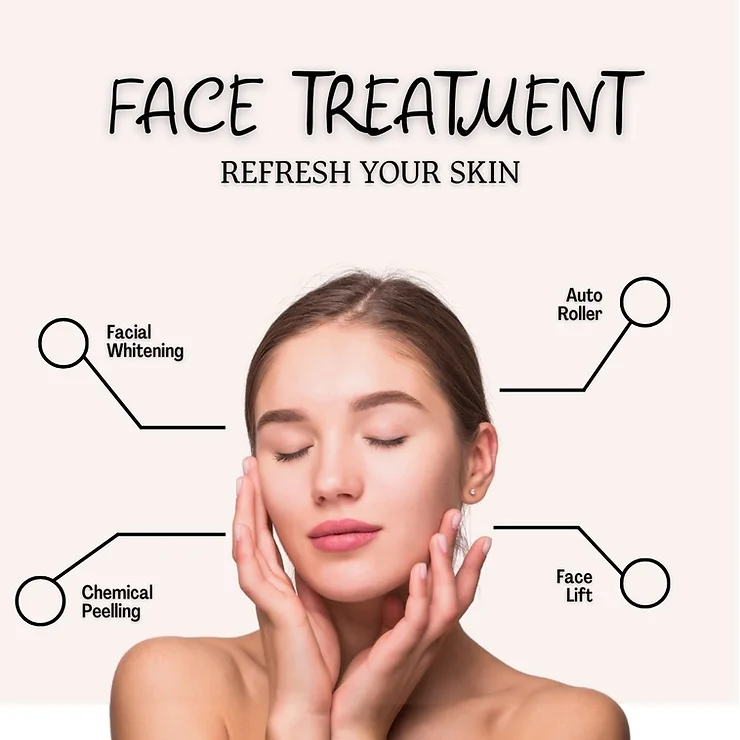
You must be wondering what does this ‘face polishing’ mean? Face polishing intensely cleanses the face, which gives a facial-like or polished look.
Our skin goes through many hardships in this polluted environment. It needs a little pampering once in a while. Face polishing will provide your skin with softness, suppleness, and glow.
This deep cleaning process will remove all kinds of deposition from your face and remove blackheads and whiteheads.
Follow these simple steps to pamper your skin and give it a salon-like glow!

STEP: 1 – CLEANSING
Use your regular cleanser to wash your face. Face washing removes all the oil and dirt deposited on the skin. Do not use your nails or be harsh on your skin.
Make sure to focus on your chin, eyes, and around the nose and mouth. These areas of the face get maximum deposition.
Wash your face with water and pat dry it. Remember, you should not get harsh with your skin at any point throughout this process.
STEP: 2 – DOUBLE CLEANSING
This step requires micellar water. Micellar water contains charged particles that deeply cleanse the face and remove dirt or makeup that might still be on your face after the first step.
If you are someone who does not wear the slightest makeup, you can skip this step. But, if you wear makeup (even if it is only a kajal), you should double-cleanse your face.
Take a few drops of micellar water in a cotton or a cloth pad and clean your face nicely. You will be surprised to see how much dirt is still on your face.
STEP: 3 – MASSAGE
Ingredients:
-
Aloe vera/malai
This step is the most important one in this entire polishing process.
-
For oily or combination skin – If you have oily or combination skin, you can use aloe vera gel for massaging your face.
-
For dry skin – If you have dry skin, use homemade butter or Malai (a thick layer of cream produced by milk).
Application:
You have to massage your face for 7 to 10 minutes thoroughly. It might seem tiring, but the result will be worth your labour.
Massage every corner of your face, focusing mainly on your problematic areas (nose, chin, around the mouth, forehead).
This massaging will produce heat which will open clogged pores, remove blackheads/whiteheads and improve blood circulation. Keep massaging till the aloe vera gel/homemade butter/malai gets absorbed into your skin.
Such intense massaging will tire you out, so take a break for 5 min before splashing water on your face.
Splash your face with water once, and then use tissue paper to clear out the residues of the product. You are going to be amazed by the feel of your skin. But the pores are still open. So after rejoicing over the results, move on to the next to lock the magic.
STEP: 4 – FACE PACK
Your open pores need to settle. For this, we will prepare a face pack. This face pack is also a magnificent face polishing component.
Ingredients:
-
Gram flour: It is a natural cleanser that will deeply cleanse your skin (if any dirt is still left!) and exfoliate the skin without irritating it. It also prevents pimples.
-
Multani mitti (Bentonite Clay or Fullers Earth): It also helps in preventing acne, and it also cures acne marks. It provides brightness and glow.
-
Fenugreek powder: It has antibacterial and anti-inflammatory properties. These seeds help prevent skin infections, slow signs of ageing and reduce dark spots.
Substitute for the contents of the face pack: If you are not comfortable with this blend, you can use this alternative for this step.
You can use masoor dal (Split Red or Orange Lentil) and sandalwood powder for this face pack. You will get the same results with both of these face packs.
Preparation:
-
Take a bowl and add one tablespoon of gram flour.
-
Next, add one tablespoon of multani mitti and a one-third tablespoon of fenugreek powder.
-
Add water, just enough to give the mix a face-pack-like consistency.
-
All these ingredients should be in a fine powdered form. Grainy texture can irritate the skin.
Application:
-
Apply this face pack to every corner of your face and leave it for 5 minutes.
-
After 5 minutes, it might dry in some areas, but mostly it will remain wet.
-
Do not worry! You have to wipe it off while it is still wet.
-
Wipe the wet areas with the help of tissue paper, and then splash water once.
-
Again, use slightly damp tissue paper or a soft towel to clean your face. Do not use your nails, and do not be harsh on your skin at any point.
Give your face a final splash of water, pat dry, and see THE MAGIC. Your skin will feel supple, soft, and glowing.
STEP: 5 – FACE SERUM
-
Apply your regular face serum.
-
If you do not use any serum, take ten drops of rosewater and one drop of jojoba oil.
-
Apply the serum or rosewater and jojoba oil mix properly (leaving the undereye area).
Let it absorb in your skin before moving to the next step.
STEP: 6 – MOISTURIZATION
-
This step is a very crucial part of the process. Multani mitti dehydrates the skin.
-
By applying moisturizer, your skin will get its hydration back.
STEP: 7 – S.P.F
This step is unskippable!
-
Your skin has gone through an intense cleansing procedure, due to which all dead skin cells are gone, and your skin is glowing.
-
You have to protect these magical results, and sunscreen will help you.
-
Apply a generous amount of sunscreen without worrying about white-cast.
This skin-polishing procedure will not just bring glow, vibrance, suppleness, and softness to your skin, but it will also keep your skin healthy.
You might notice oil on your face on the first day, which is normal. It happens because of the intense cleansing. The oiliness of the skin will eventually go away.
Since this procedure is very potent and intense, do it only in 15 to 20 days. Believe me, this face polishing will make you forget about facials and clean-ups.
I’ve shared multiple videos on hair oils. You can watch them on my YouTube Channel.
P.S.: Did you get great results by trying this remedy? Don’t forget to come back and write a review based on your experience, and inspire others to try it too.
Also, if you’re not a part of our amazing family, you’re missing out. Join us today and start your natural skincare and haircare journey and get help from other community members. 😊


